Welcome to week 2 of 12 Weeks of Beanies! This free knit beanie pattern – Beanie No 2 – is perfect for the beginner knitter! In fact, this free knit beanie pattern is the very first knit beanie that I’ve ever made too! It was so much fun to figure out how knitting a beanie works, and I ended up knitting a simple ribbed beanie body and then doing knitted decreases through the crown to keep it easy and simple.
The free knit beanie pattern Beanie No 2 is the second in a 12 week series of beanie patterns designed with the beginner knitter or crocheter in mind. Every new crafter needs easy, yet beautiful, hat projects that are interesting while still being easy to memorize and make. You can find the very first free beanie pattern in the series here if you’d like to start at the beginning!
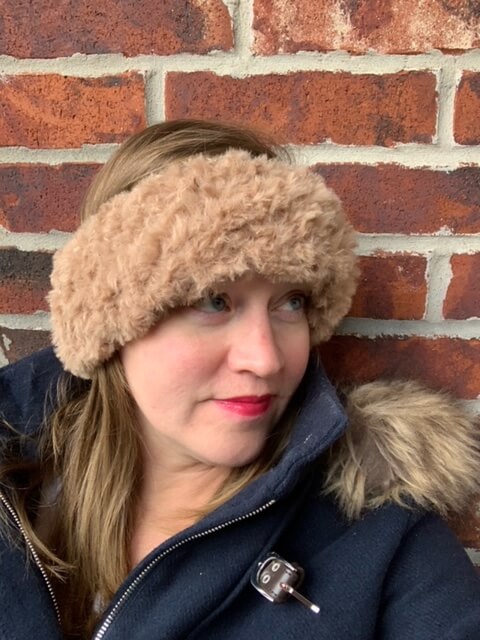
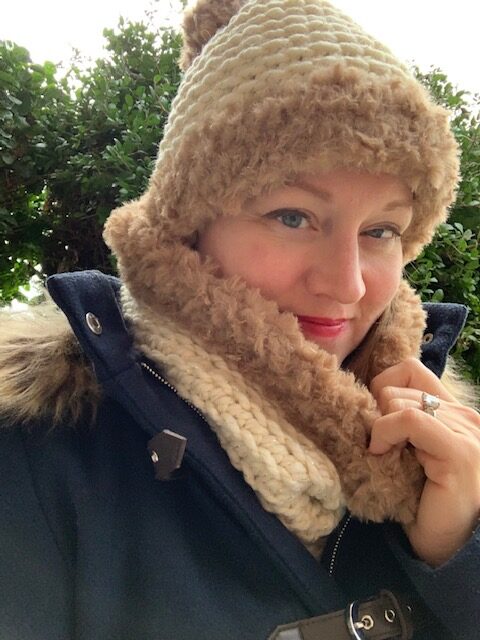
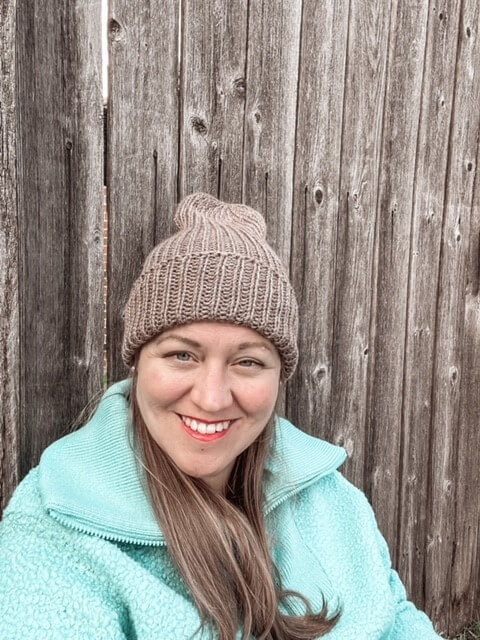
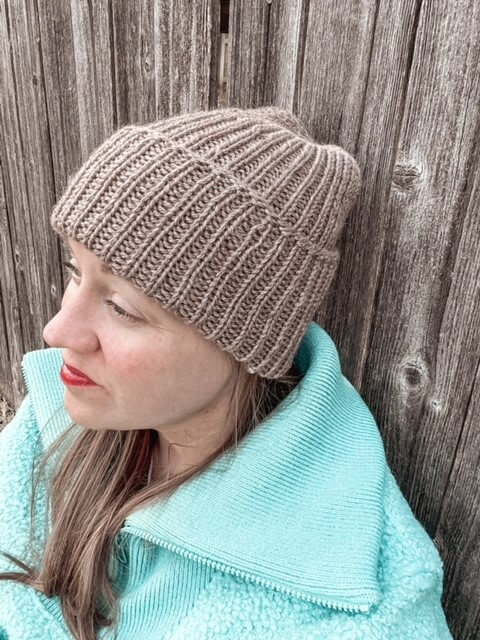
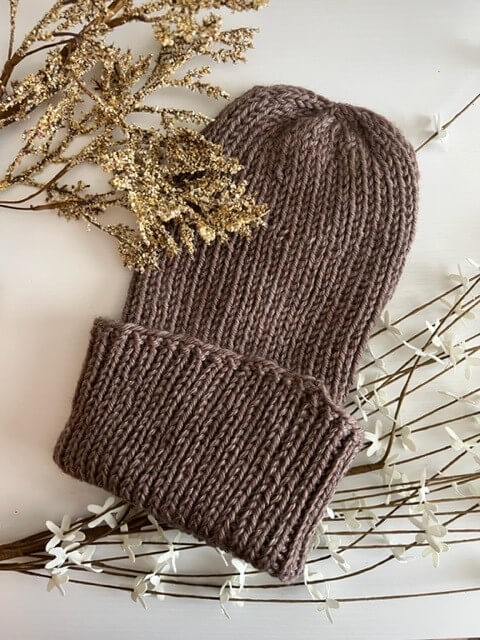
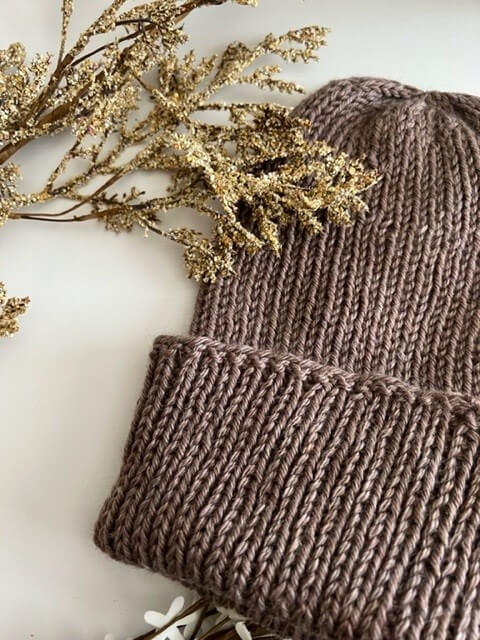
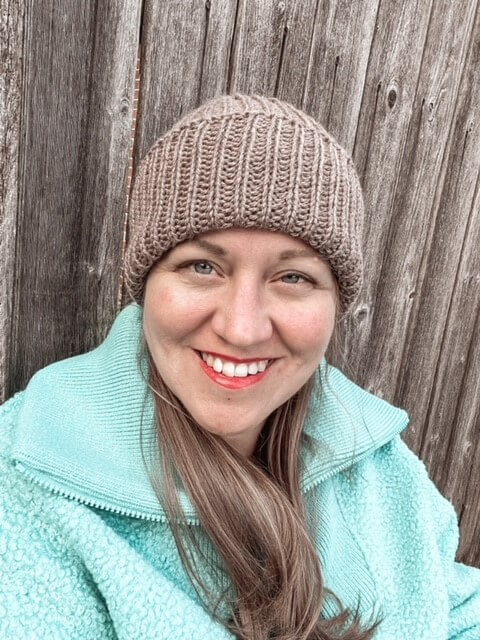
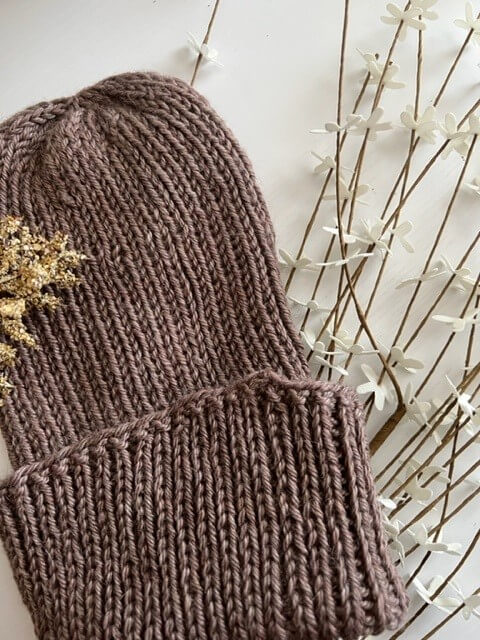
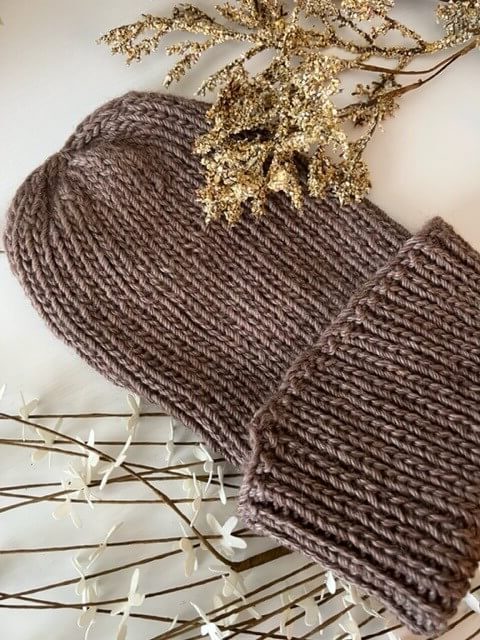
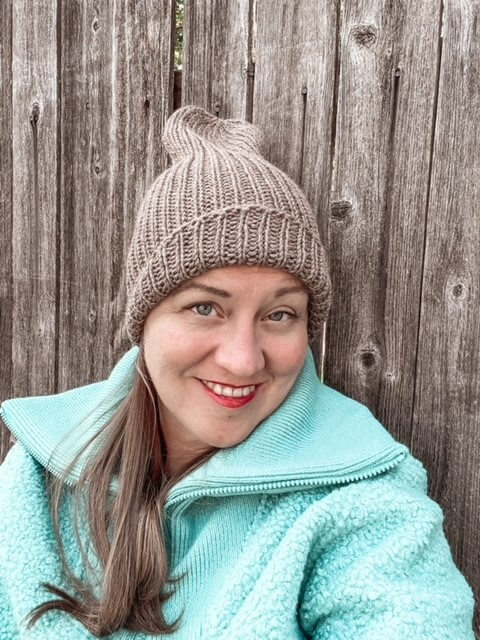
I created this beanie specifically for my husband, even though I have pictures of me in it *wink*! He has a giant head and has a hard time finding beanies that are long enough to cover his ears while also being cozy and warm. I designed this beanie to be extra long for him, but since my head is a more typical size I get to wear it two different ways! In some of the photos you’ll see it with a short brim and long body, and in others I’ve pulled it all the way onto my head with a really deep four inch brim. That deep double brim is sooooo warm and cozy and I know it will work great for both of us this winter!
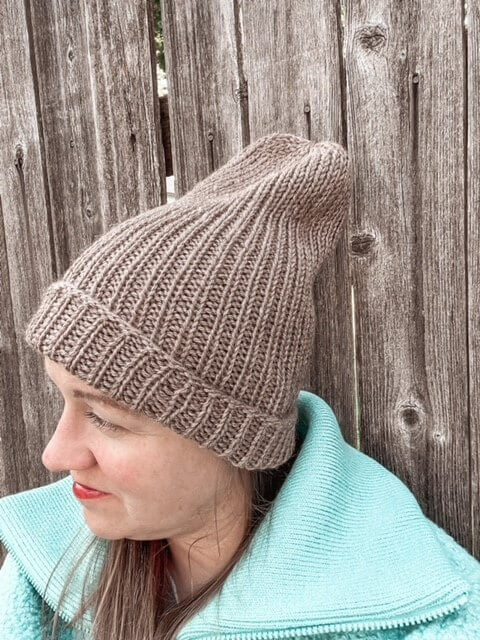
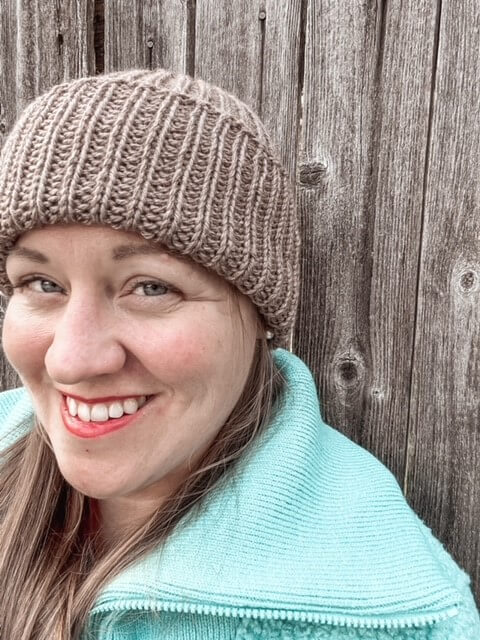

The free knit beanie pattern Beanie No 2 was also created specifically with simplicity and SQUISH in mind. There’s nothing better than a cozy, squishy knit, and you’ll find exactly that in the gorgeous fabric of this hat. There’s also an INCREDIBLE amount of stretch to this pattern, which is why the hat isn’t very large in circumference. There’s up to 11 inches of stretch in this baby, so to keep it tight and cozy on your head there’s 8″ of negative ease included in the pattern.
And because this is a beginner pattern, I’ve included a TON of tutorials for all the steps in making the hat so you can decide exactly how you want to knit it. Do you want to use magic loop? Do you want to use DPNs? How exactly do you knit 2 together? All these tutorials + a few more will get you started on your way to creating your very first hat!
Have I also mentioned the ENTIRE beanie series is FREE? Yep!! You’ll find every single one of the 12 Weeks of Beanies hats for free on my blog. This is the second post, and you can find the post for Beanie No 1 here. If you’d like a notification when new patterns drop, sign up for my newsletter to be notified of new designs before anyone else!
AND – I plan to make these 12 beanie patterns into an eBook that you can purchase from my website or on Ravelry.com once they’ve all been published here on my blog! The eBook will be professionally formatted, include a range of sizes for each beanie pattern, and be a great collection of beanies you can refer to every year for personal and gift crocheting or knitting.
Instructions include:
- Construction + Fit/Ease
- Yarn Notes
- Yarn Amounts
- Hook Size
- Notions Required
- Gauge
- Sizes
- Hat Schematic
- Swatching Notes & Directions
- Stitch Abbreviations
- Special Stitches
- Tutorials
- Notes
- The Beanie Pattern!
- Finishing Notes
- Copyright Notes
Disclaimer: Some of the links included in this pattern are sponsored links, which means that if you choose to click on them, I’ll receive compensation from the company at no cost to you. By clicking on these links, you’ll help me be able to continue providing free patterns. It’s a win/win for both of us!
Construction + Fit/Ease
Beanie No 2 is constructed from the bottom up in the round. It starts with a long-tail cast on, the body is worked, and then the crown decreases are worked last. The hat has a high amount of negative ease of since the ribbing pattern is so stretchy, and this negative ease will keep it snug and tight over your ears for maximum warmth.
Yarn Notes
When I first started knitting, I wanted to explore different yarns, so I joined the monthly Knit Crate subscription. In that subscription I got the most squishy, cozy yarn from Audine Wools called Harmony that was created specifically for the Knit Crate subscription. It’s a worsted weight (size 4) yarn in a blend of wool (40%)/alpaca (26%)/tencel (23%)/baby camel (10%) fibers, but since it’s only available through the Knit Crate subscription, I’ve also included some other yarn choices for you here that will be great substitutions. I DO highly recommend the Knit Crate subscription since it’s so flexible – the yarn colors are customizable and you can decide how many months of yarn you’d like to sign up for and cancel whenever you need to.
$$$ Knit Crate Subscription to get your own Audine Wools Harmony skeins
$$$ City Tweed Aran/HW yarn from Knit Picks (55% Merino Wool, 25% Superfine Alpaca, 20% Donegal Tweed)
$$ LB Collection Merino Yak Alpaca yarn from Lion Brand Yarns (70% Merino, 15% Alpaca, 15% Yak)
$ Caron Simply Soft yarn from Joann’s (100% Acrylic)
Yarn Amounts
*FYI – The yarn amount listed here includes enough yarn to make 1 large swatch, the hat, and have a bit left over.
- Main Color: 2 skeins Audine Wools Harmony yarn, 150 yds/137m/100g/3.5oz worsted weight (size 4)
Needles
- 4.5mm (US Size 7) circular knitting needles with 40 inch cord for Magic Loop Method, or
- 4.5mm (US Size 7) DPN knitting needles
Notions
- 1 stitch marker
- Embroidery Needle for weaving in ends
Gauge
28 stitches x 22 rows = 4”x4”
- 7 stitches per inch
- 5.5 rows per inch
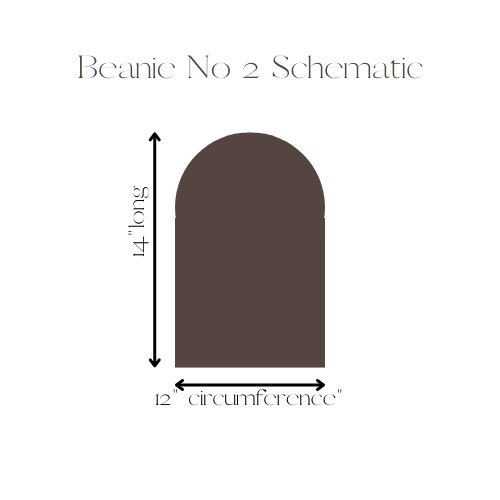
Schematic
Sizes
Adult Size Large to fit head circumferences 21-23”
- Finished circumference 12”
- Height from Crown to Brim = 14”
Swatch Notes
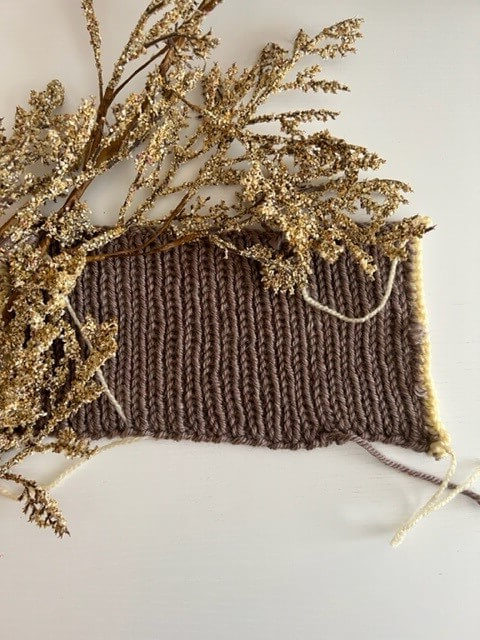
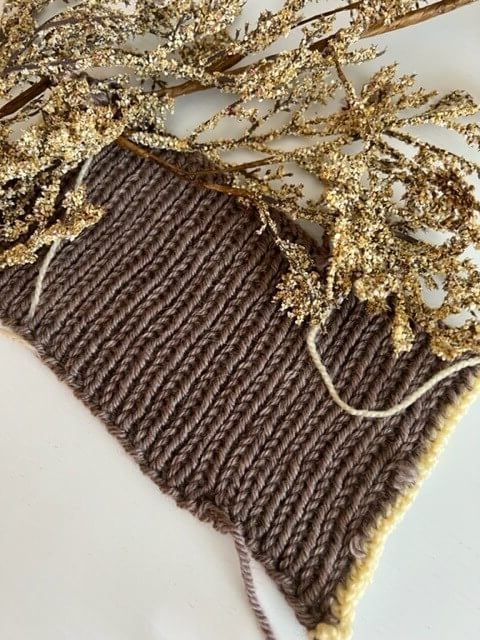
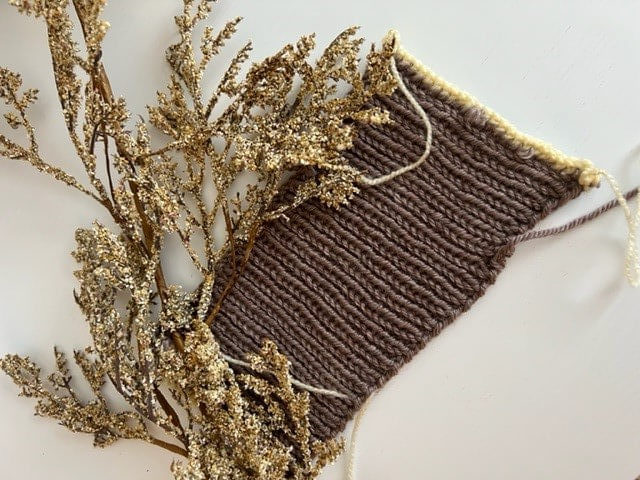
The swatch for Beanie No 2 is worked in (K1, P1) rib in the round. It’s very important that you work the swatch in the round and not flat because knitting in the round and knitting flat will produce two different gauges. We want your hat to fit, so make sure to swatch in the round!
I worked my swatch by casting on 40 stitches, working the rib pattern for 5 inches, binding off, and then I steeked my swatch to get the flat gauge. I’ve included a tutorial for steeking down below, but if you’re afraid to cut your yarn (which I totally get, although it’s quite exhilirating to cut it!) then you can knit a row, slide your work back to the other end of the circular needles, and then knit the next row. I’ve included a tutorial for this circular knitting method too.
Swatch Directions
This swatch is worked in the round using your preferred method of working in the round. See tutorials below for how to swatch in the round.
- Set Up Round: Co 40 sts.
- Round 1 (RS): K across. 40 sts.
- Round 2 (RS): *(K1, P1), repeat from * across. 40 sts.
- Repeat round 2 (32) more times for a total of 34 rounds. Fasten off, block.
Stitch Abbreviations
- Co = cast on
- DPNs = double pointed needles
- MC = main color
- K = knit
- K2tog = knit 2 stitches together
- P = purl
- RS = right side
- Sts = stitches
- WS = wrong side
Special Stitches
K2tog = insert your right needle knitwise (from left to right) into the second stitch on your left hand needle and then into the first stitch, then knit the two stitches together. 1 decrease made. See tutorial for how to K2tog if needed.
Tutorials
Swatching in the Round + Steeking: https://www.youtube.com/watch?v=Vno-cMURQjc
Swatching in the Round Without Steeking: https://www.youtube.com/watch?v=ZzC6N4SGhos
Magic Loop Method for Knitting Hats: https://www.youtube.com/watch?v=1mqIqRdJc68
Using DPNs to Knit Hats: https://www.youtube.com/watch?v=XqkIdJ3WSzA
How to Join to Work in the Round: https://www.youtube.com/watch?v=vMncPOeK29Y
How to Knit 2 stitches together: https://www.youtube.com/watch?v=10Ko-GJ8Vbk
How to Weave in Ends: https://www.youtube.com/watch?v=v-p4qsiyuI8
How to Block Hats: https://www.youtube.com/watch?v=-gZ4gDUYon4
Notes
*Move the stitch marker up each round to keep track of the beginning of each round.
*The hat is going to look VERY narrow, but there is a ton of stretch to the rib pattern so it will stretch out to be the right size and still stay warm and snug on your head.
*This hat is incredibly long and made to fit a large head, so feel free to shorten it to your preferred length if you wish.
*The hat can be worked using magic loop method or by using DPNs; I’ve included tutorials for both methods above.
Pattern
Body
NOTE: There isn’t a brim section on this hat so you will start with the body. The body is simply folded up to create a brim.
- Set Up Row: Co 85 sts. Join to work in rounds by moving the last loop to the left-hand needle, lift the first loop over the last loop and drop it off the needles; last loop becomes your first stitch in the round. This kind of join makes a smooth join without a little gap. If this is confusing though, you can see the tutorial above for a simpler visual demonstration of how to join but that method produces a gap that you’ll have to sew together. Place a stitch marker to designate beginning of round. 84 sts.
- Round 1 (RS): *(K1, P1), repeat from * around. 84 sts.
- Repeat row 1 for 66 rows or until hat measures 12 inches long.
Move to Crown Decreases.
Crown Decreases
NOTE: The crown decreases rapidly. Continue using magic loop method or switch to double pointed needles when desired.
- Round 1 (dec round): *(K1, P1, K2tog), repeat from * around. 62 sts.
- Round 2: K around. 62 sts.
- Round 3 (dec round): *(K1, K2tog), repeat from * around. 42 sts.
- Round 4: K around. 42 sts.
- Round 5: *K2tog, repeat from * around. 21 sts.
- Round 6: *K2tog, repeat from *around ending with K1 in last stitch. 11 sts.
Move to Finishing
Finishing
Using an embroidery needle, thread yarn tail through the remaining 11 live stitches on your needles, then pull tight to close the hole. Thread the yarn into the inside of the hat, tie a knot if desired, then weave in ends and block as desired.
Copyright Notes
It’s not nice to copy other people’s work so let’s not do that! All text and photos copyright 2022 by Regarding Yarn. No part of this pattern may be duplicated or sold. Final products made from this pattern are for personal use only and may not be sold.