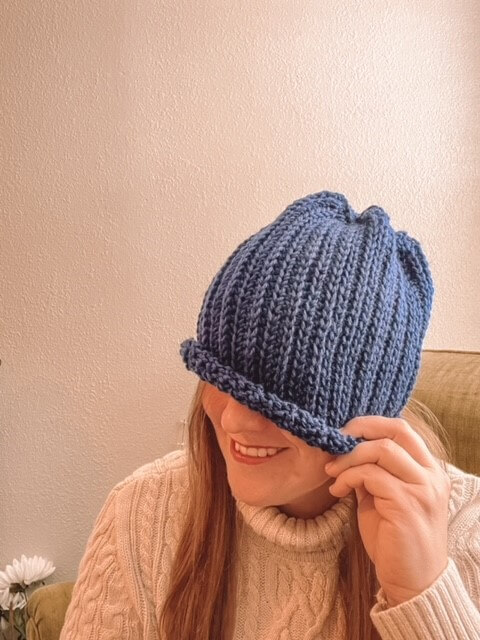
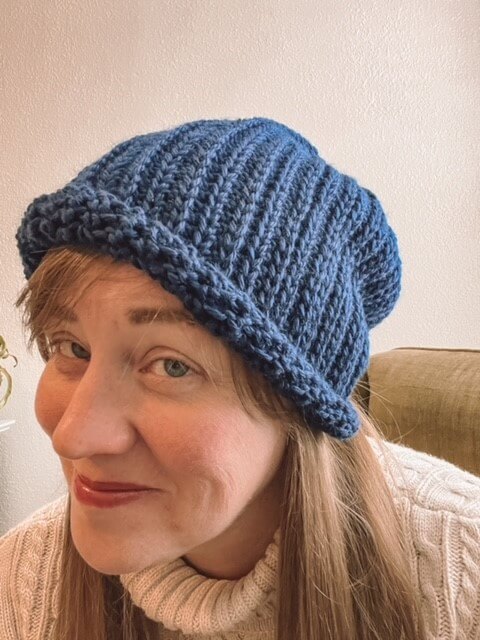
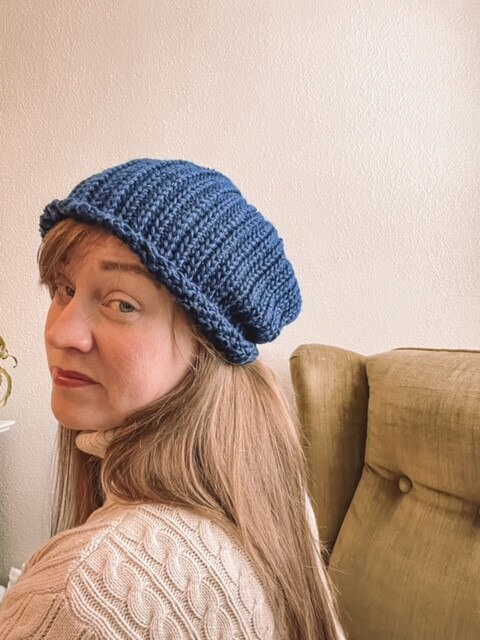
Welcome to Week 5 of 12 Weeks of Beanies! Crochet Foundry Magazine and Furls Fiberarts have kindly sponsored this post for Beanie No 5 – a knit-look crochet beanie created from Wander yarn made by Furls. The Beanie No 5 is a great beginner crochet beanie pattern that looks knit, but isn’t! It’s crocheted using half double crochet stitches, so if you can HDC, then you can make Beanie No 5.
Did you know the ENTIRE beanie series is FREE? Yep!! You’ll find every single one of the 12 Weeks of Beanies hats for free on my blog. This is Beanie No 5 of 12 designs to be published, so if you want to know when the next patterns get published, sign up for my newsletter using the form below to be notified of new designs before anyone else! I promise not to spam you and just send great, relevant content related to all things yarn!
AND I have a little surprise for ya too – I plan to make these 12 beanie patterns into an eBook that you can purchase from my website or on Ravelry.com once they’ve all been published here on my blog. I’m just publishing single sizes in the blog posts, but the eBook will be professionally formatted, include a range of sizes for each beanie pattern, and be a great collection of beanies you can refer to every year for personal and gift crocheting or knitting.
Instructions for Beanie No 5 include:
- Construction + Fit/Ease
- Yarn Notes
- Yarn Amounts
- Hook Size
- Notions Required
- Gauge
- Sizes
- Hat Schematic
- Swatching Notes & Directions
- Stitch Abbreviations
- Special Stitches
- Tutorials
- Notes
- The Beanie Pattern!
- Finishing Notes
- Copyright Notes
Disclaimer: Some of the links included in this pattern are sponsored links, which means that if you choose to click on them, I’ll receive compensation from the company at no cost to you. By clicking on these links, you’ll help me be able to continue providing free patterns. It’s a win/win for both of us!
Construction + Fit/Ease
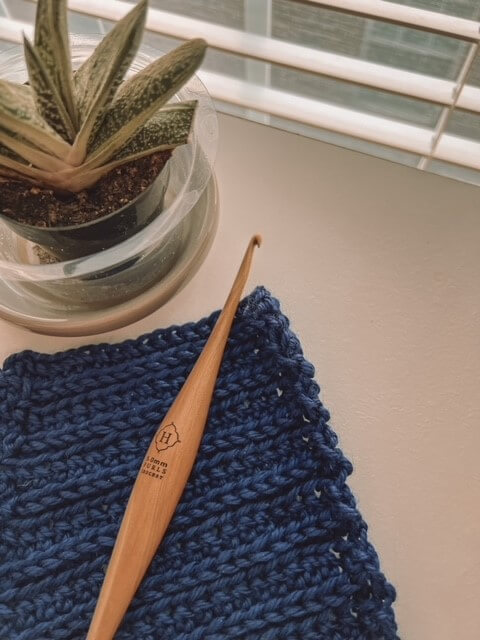
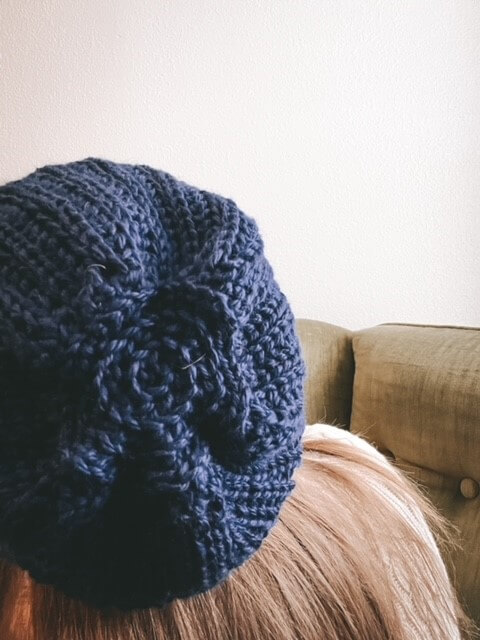
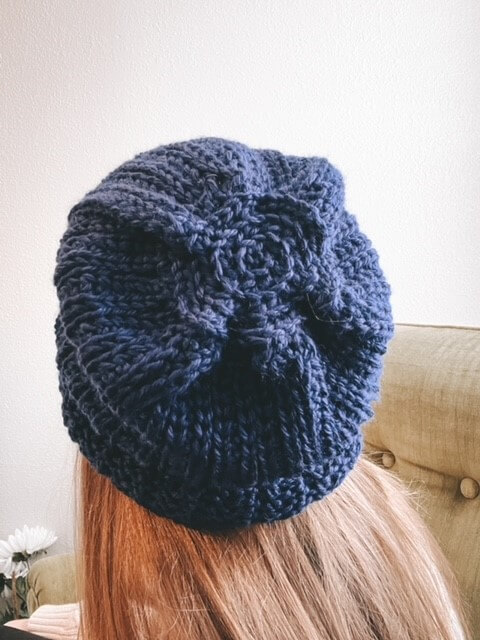
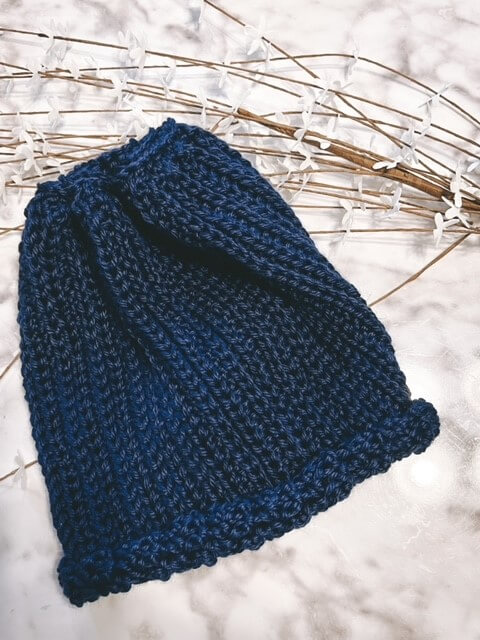
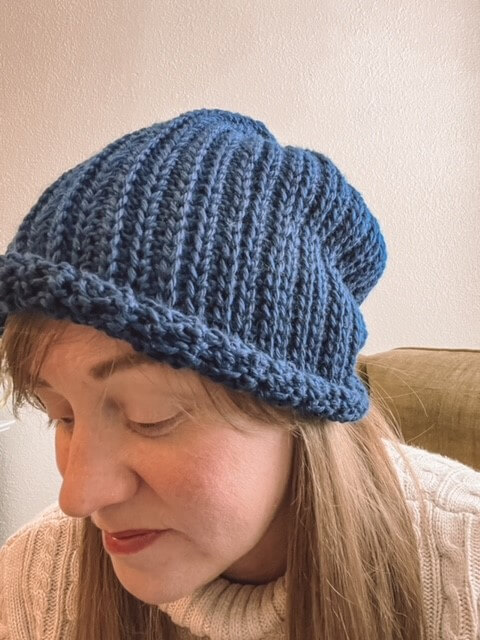
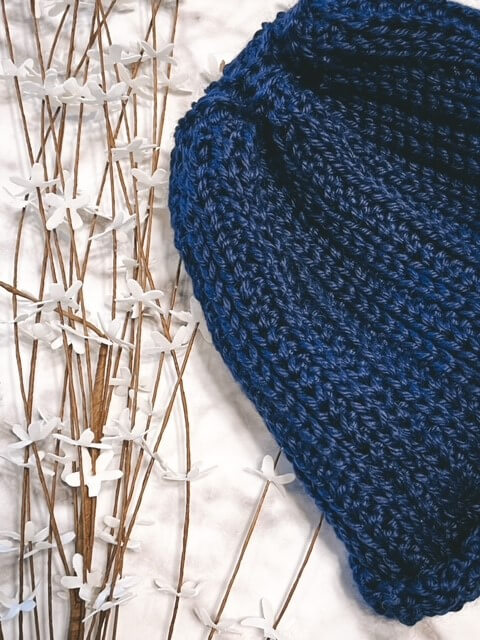
Beanie No 5 is constructed side to side, so the rows become the stitch count and the stitch count becomes the rows. By working the hat sideways into the back third loop or the back loop of each HDC stitch, it creates a beautiful knitted look fabric that mimics knitting. The fabric has an unfinished rolled brim that also mimics a stockinette rolled brim that I thought was so fun! The hat is folded in half, seamed up the side, and then the crown is worked using single crochet 2 together stitches. The hat has a negative ease of 2” to keep it snug and tight over your ears for maximum warmth.
Yarn Notes
Crochet Foundry Magazine and Furls Fiberarts kindly sponsored my yarn choice for Beanie No 5. I used Wander yarn in Midnight which is an acrylic yarn created with softness and easy care in mind. This yarn is machine washable and dryable which makes it great for objects that get a lot of wear or are worn outdoors and get dirty. Just drop the hat in the washing machine, dry it, and voila – a clean, cozy beanie ready for the next outing! You can order your own Wander yarn at the link below:
Yarn Amounts
*FYI – The yarn amount listed here includes enough yarn to make 1 swatch plus a beanie.
- Main Color: 2 skeins Wander yarn in Midnight, 100g (3.5oz), 120 yds (109m)/skein
Hook
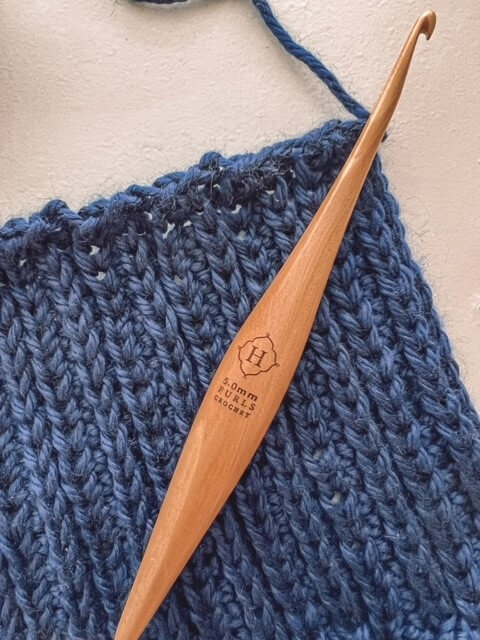
Have you ever crocheted with a Furls hook? First off, can I just say every single one of the Furls hooks are GORGEOUS! My favorite hooks are the Streamline Wood hooks – they’re light, beautifully crafted, and they’re lacquered so they don’t catch on your yarn at all. I used a Furls Streamline Hook in Camwood for this project. But I also LOVE the Glitter Hooks and the Candy Shop Hooks too! I’ve got one hook in both those collections are they’re just fantastic to crochet with.
Also, I haven’t mentioned yet that these hooks are ERGONOMICALLY DESIGNED! Yep, they’re good for you hands and wrists, which I think is really just an added bonus to how gorgeous they are. It takes a minute to get used to the chunky grip but it’s totally worth a few seconds of figuring out how to hold them in order to use a fantastic hook that coordinates with your yarn! You can check out the Furls hook lines at the links here.
I used a Size US H-8 (5.0mm) Furls Camline Streamline Hook. The Wood Streamline Hooks are here.
The Glitter Streamline Hooks are here.
The Candy Shop Hooks are here.
Added bonus: Check out the Alpha Series Hooks (SWOON!!!). Furls knocks it out of the park when it comes to beautiful crochet tools!
Notions
1 locking stitch marker
Embroidery Needle for weaving in ends
Gauge
15 stitches x 10 rows = 4”x4”
- 3.75 stitches per inch
- 2.5 rows per inch
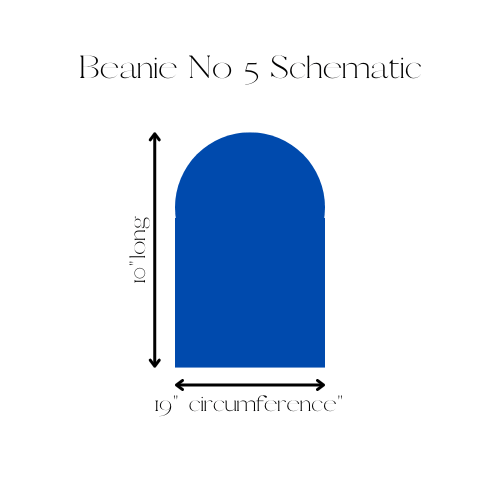
Schematic
Sizes
Adult Size Medium to fit head circumferences 20-21”
- Finished circumference 19”
- Height from Crown to Brim = 10”
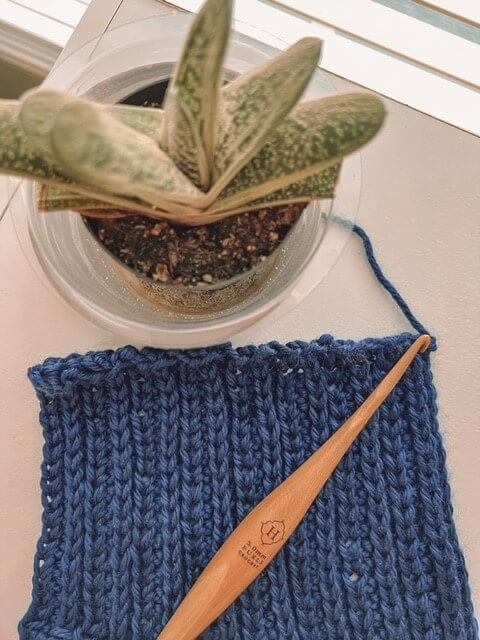
Swatch Directions
This swatch is worked flat, back and forth.
- Set Up Row: Ch 21. Turn.
- Foundation Row (WS): Skip first chain and hdc into each ch across. Ch 1, turn. 20 hdc.
- Row 1 (WS): HDC 3BL across. Ch 1, turn. 20 hdc.
- Row 2 (RS): HDC BLO across. Ch 1, turn. 20 hdc.
- Repeat rows 1-2 (9) more times for a total of 20 rows. Fasten off, block.
Stitch Abbreviations
- Ch = chain
- HDC = half double crochet
- HDC 3BL = half double crochet into the third back loop
- HDC BLO = half double crochet into the back loop only
- MC = main color
- Sl st = slip stitch
- Sc = single crochet
- SC2TOG BLO = single crochet 2 together in back loops only
- RS = right side
- WS = wrong side
Special Stitches
SC2TOG = insert hook into first stitch, yarn over and pull up a loop, insert hook into second stitch, yarn over and pull up a loop, yarn over and pull yarn through all three loops on hook.
HDC 3BL = tilt stitch away from you and work HDC stitch into the third loop below the top two loops that make a V. See tutorial for help.
HDC BLO = work HDC into the back loop only of the stitch below.
Tutorials
SC2TOG: Tutorial here
HDC 3BL: Tutorial here
HDC BLO: Tutorial here
Notes
*It’s QUITE easy to miss the first and last stitches on each row, so I HIGHLY encourage you to count the stitches in each row, or place a locking stitch marker in the first and last stitch of each row to make sure your rows keep the right number of stitches.
Pattern
Body
Foundation Row 1 (RS): Using MC, ch 35, turn, skip first chain, HDC into each ch across, ch 1, turn. 34 sts.
Row 2 (WS): HDC 3BL across. Ch 1, turn. 34 sts.
Round 3 (RS): HDC BLO across. Ch 1, turn. 34 sts.
Repeat Rows 2-3 (23 times) for a total of 48 rows.
Move to Side Seaming.
Side Seaming
Row 1 (RS): Fold beanie in half with right sides out and wrong sides together. Check to make sure your slip stitches will be worked in the same direction as the hdc stitches are going. Ch 1, and working into front loops of chain and back loops of HDC in each row, sl st the chain stitches and hdc stitches together up the side to create a tube. Ch 1, turn hat 45 degrees to begin working crown decreases in the round across the top of the hat.
Move to Crown Decreases.
Crown Decreases
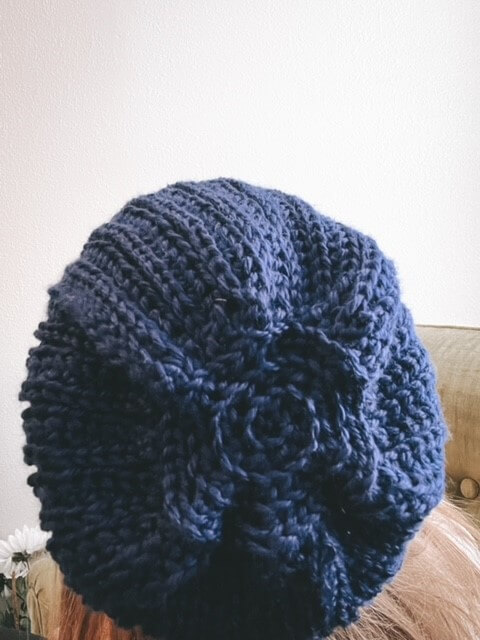
Round 1 (RS): HDC around. Stitch count will vary depending on how you crochet, but try to get an even number of HDC stitches around the crown.
Round 2 (RS): SC2tog around, continuing in a spiral until 6-8 stitches are left. Using the embroidery needle, weave yarn through tops of the last 6-8 stitches and tug to close the hole. Sew the hole closed.
Move to Finishing.
Finishing
Weave in ends. Roll brim edge up to mimic stockinette rolled brim. Block as desired.
Copyright Notes
It’s not nice to copy other people’s work so let’s not do that! All text and photos copyright 2023 by Regarding Yarn. No part of this pattern may be duplicated or sold. Final products made from this pattern are for personal use only and may not be sold.



2 Comments
Awesome beanie, so unique!! Love it and definitely need to make one now. Thank you so much for sharing!!
Thanks so much! I’m so glad you like it. 🙂
Comments are closed.